Start Here
This blog post demonstrates how to create realistic indoor navigation animations using Mappedin JS. It walks through generating directions, animating the camera along a path, adjusting for walking speed, and ensuring the camera stays on track by interpolating points. The result is a smooth, human-like navigation experience within an indoor map.
There are many ways to visualize a map, you could use the classic top down, an isometric view or even show multiple floors of a building stacked on top of each other. Those views are all built into Mappedin JS. In this blog post we’re going to investigate another view, looking within a building from the point of view of someone walking through it.
Mappedin JS provides features that we can put together to build this type of animation. Let’s take a quick look at what it’ll look like, then I’ll explain how I built it.
Getting Directions
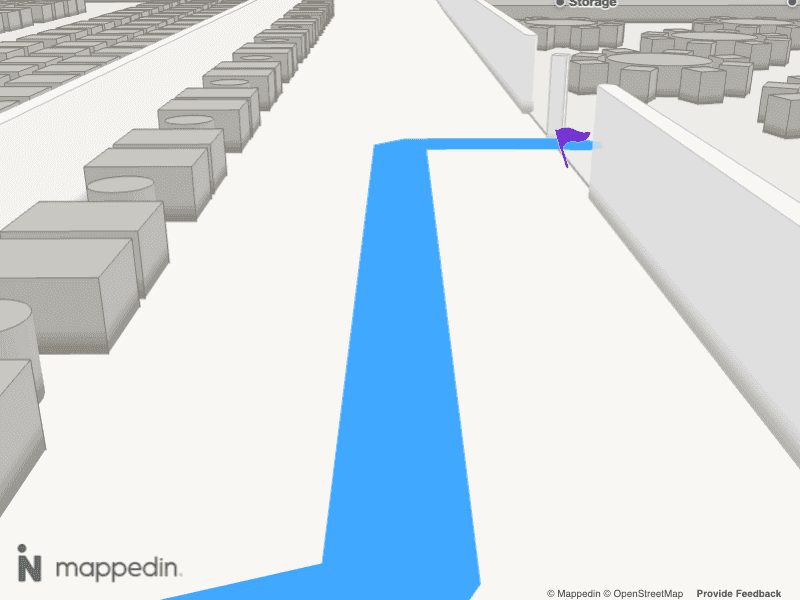
Let’s start by figuring out how to get from point A to point B with wayfinding. I’ll provide Mappedin JS with an origin and destination and it will return directions for how to get there. These directions include an array of coordinates that mark the start and end points of each leg of the journey. It also includes the distance of each leg of the journey. I’ll take these directions and use them with the Navigation class to draw a path of the journey. This provides the blue path that I’ll follow with the camera.
Moving the Camera
Mappedin JS supports animating the camera to various targets on the map, one of which is a coordinate defined by a latitude and longitude. This is a great match for the directions we received, which contains an array of coordinates of the start and end point of each leg of the journey. I’ll pass those coordinates to the animation method, looping through all of the coordinates and calling the animateTo method.
Let’s take a look at how that looks.
Getting My Bearings
The camera is now moving toward the destination, but it definitely doesn’t match the view of someone walking. Most people I’ve seen walk - myself included - turn to face the direction they’re going. Let’s create that effect in the animation by adjusting the bearing to point towards the end point of each leg of the journey. Thankfully, someone posted some code on stackoverflow that calculates the bearing between two points. I’m going to make use of that and use it in the animateTo method. Have a look in utils.ts of the app to see how that works or to find a link to that post. Now to add that bearing to animateTo.
Now we can see if it looks more like the view of someone walking now.
It’s getting better, although that’s definitely not walking speed, is it!? Watch closely and you’ll see that the animations for each leg of the journey move at different speeds. This is because each animation is using the default animation duration while moving different distances. The result is shorter distances move slower than long distances because they all complete within the same amount of time. It’s time (pun intended) to figure out how to move at a consistent speed.
Calculating Walking Speed
The goal of this app is to move the camera at a speed similar to how someone would walk through a building. I can use the distance provided by Mappedin JS’ directions along with the preferred walking speed to calculate how long it would take someone to walk each leg of the journey. The animateTo method I’m using accepts a duration parameter. This lets me set varying animation durations based on each leg of the journey.
Watch how adding a walking duration has affected the animation.
Oooh, look at that. Nice and smooth! But now I see a new problem, the camera is not staying on the path. It’s cutting corners and even going through a wall. I’m pretty sure our user isn’t a ghost, so this won’t work. The animateTo method moves the camera along the shortest path between two points, which isn’t how a user is able to move. Time to fix that up.
Interpolating Directions
In order to keep the camera moving along the path, I need to insert more coordinates into the path's coordinate array. To accomplish this, I created some helper methods that allow me to provide a start and end point as well as max distance. The helper method will then insert coordinates along the path that are no more than max distance apart. This lets me move the camera shorter distances and keeps it from taking any shortcuts. You can find these helper methods in the utils.ts file, where the bearing is also calculated.
Inserting new coordinates means I can’t use the distance from the directions for my animation speed. Instead, I need to calculate the distance between each point and apply the preferred walking speed to it. This is the final addition to utils.ts.
Full Example
Woohoo, this is looking great now! I have a Mappedin JS app that generates directions and smoothly animates the camera along the walking path from the origin to the destination. Watch it replay in the app below. Click Open Sandbox to open the app in CodeSandbox to view the full source code.
Share

