Mappedin previously hosted a webinar titled "Discover the Indoors with Mappedin SDKs". In it, we demonstrated a few unique use cases of the Web SDK. One of the intriguing ideas was highlighting pins along a user's path and displaying additional information as they approached the locations. Here's how you can leverage the SDK to build that.
Webinar demo
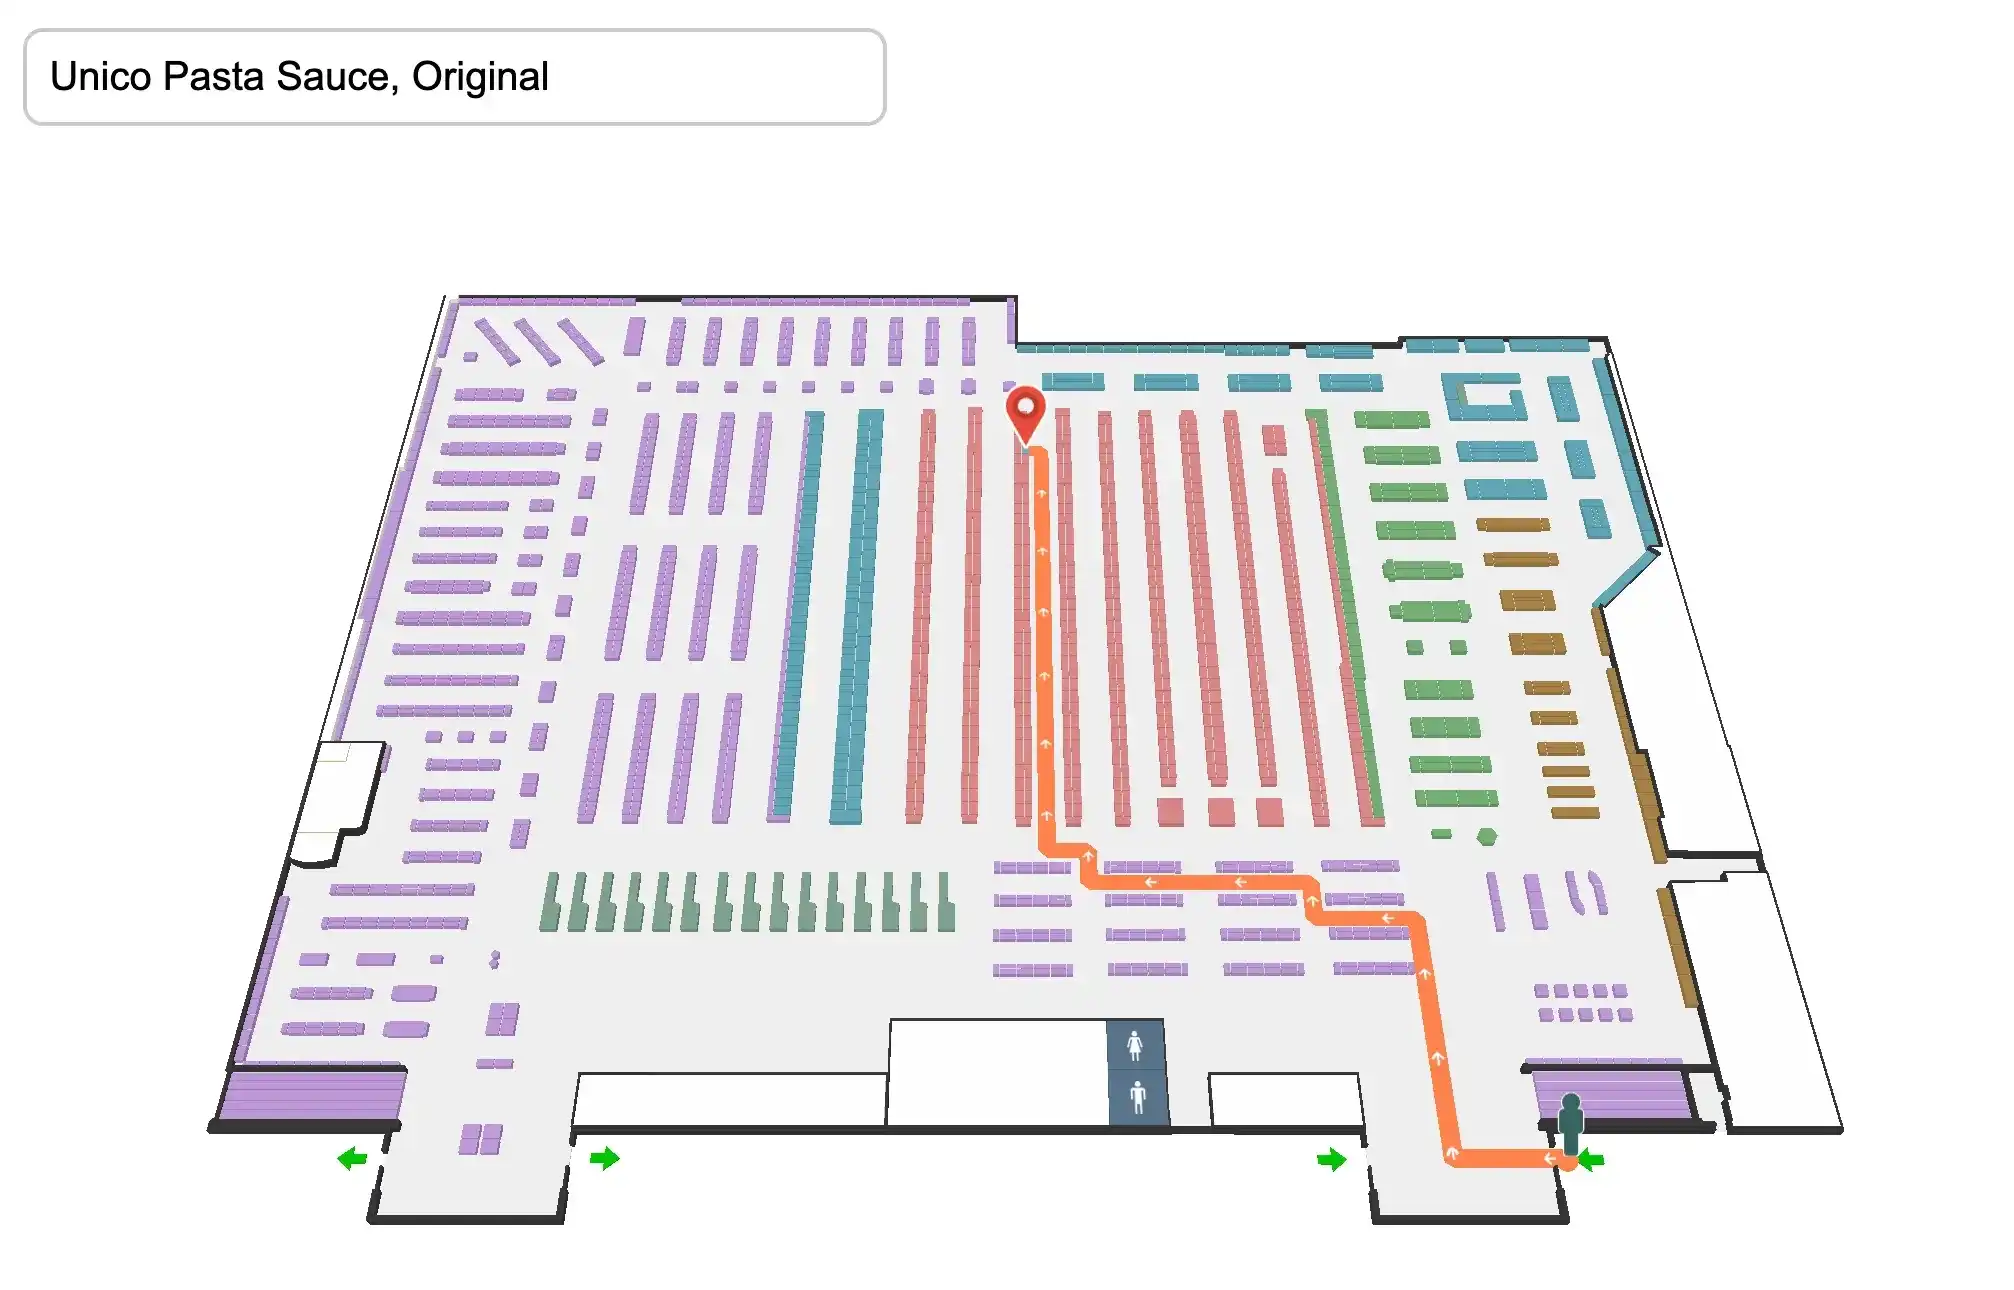
Below is a hands-on with the demo we showed during the webinar. The full source code is available on CodeSandbox.
Notice how highlighted pins appear at locations along the route. As the blue dot (simulating a user) walks near these locations along the path, a new window appears with more information.
Now that you've seen it in action, let's dive into how you could build this feature into your own application.
Promoting key locations
To begin picking out locations along your path, you first need to select a start and end location and generate the directions. Then, iterate through the directions.path array to get the nearby nodes along the route. You can check the nodes against an external data set to determine if they should be promoted and add them to the list.
With the list generated above, you can now create markers which highlight the locations on the map. You can style these markers however you like, adding supplemental text and images about the promotion. This is also a good time to draw the path that navigates past these locations too.
Detecting nearby user
In addition to promotion markers, you can detect when a user is within range of a location to display a sponsored message. To achieve this, you can use the blue dot POSITION_UPDATE event which fires whenever a change in the user's position is detected. By converting our position data to MappedinCoordinate we gain access to the absoluteDistanceTo function. Using this, you can choose an optimal distance to display the ad.
That's really all there is to it. If you're curious how we simulate blue dot positioning, have a read of our Generating Blue Dot Testing Data blog post or fork this webinar demo on CodeSandbox.
If you missed this past webinar, be sure to follow us on LinkedIn and explore our Developer Portal to stay up to date and see more exciting demos like this!
Share