Capacitor is an open source runtime for building Web Native apps. It allows developers to use JavaScript, HTML, and CSS and create cross platform apps that run natively on Android and iOS. Sometimes we get asked if the Mappedin Web SDK can be used within an app built with Capacitor. The answer to that is, yes! Our SDK can seamlessly integrate with Capacitor. Let’s create an example project together and see what that looks like.
Set up the project
For this example I�’ll be starting with a fresh project. But you could follow similar steps to add Mappedin Web to your existing project. The first command we need to run creates a new capacitor project.
npm init @capacitor/app
This command starts the new project wizard, which prompts you to choose an app name and Id. After it’s been created, change into the project directory and add mappedin-js like this:
npm add @mappedin/mappedin-js
Now we’re ready to do some coding. Let’s make use of some Mappedin sample code from the Mappedin Web SDK Getting Started Guide. From the getting started guide, copy the index.html code and replace the index.html file in the sample project. Next copy the main.ts code and paste that into a new file in the app’s src/js directory.
Now go back to the index.html file because we need to change the path to main.ts to match our project. Modify the path from src/main.ts to ./js/main.ts as shown below.
Original Code
Modified Code
Now we’re ready to build and run our app!
Running on Android
Before running on Android we need to add Android support to our project. Do that by running:
npm install @capacitor/android
Next we need to build the project by calling:
npm run build
Now we’re ready to execute the android package and run it on an Android emulator using the following commands:
npx cap add android
npx cap run android
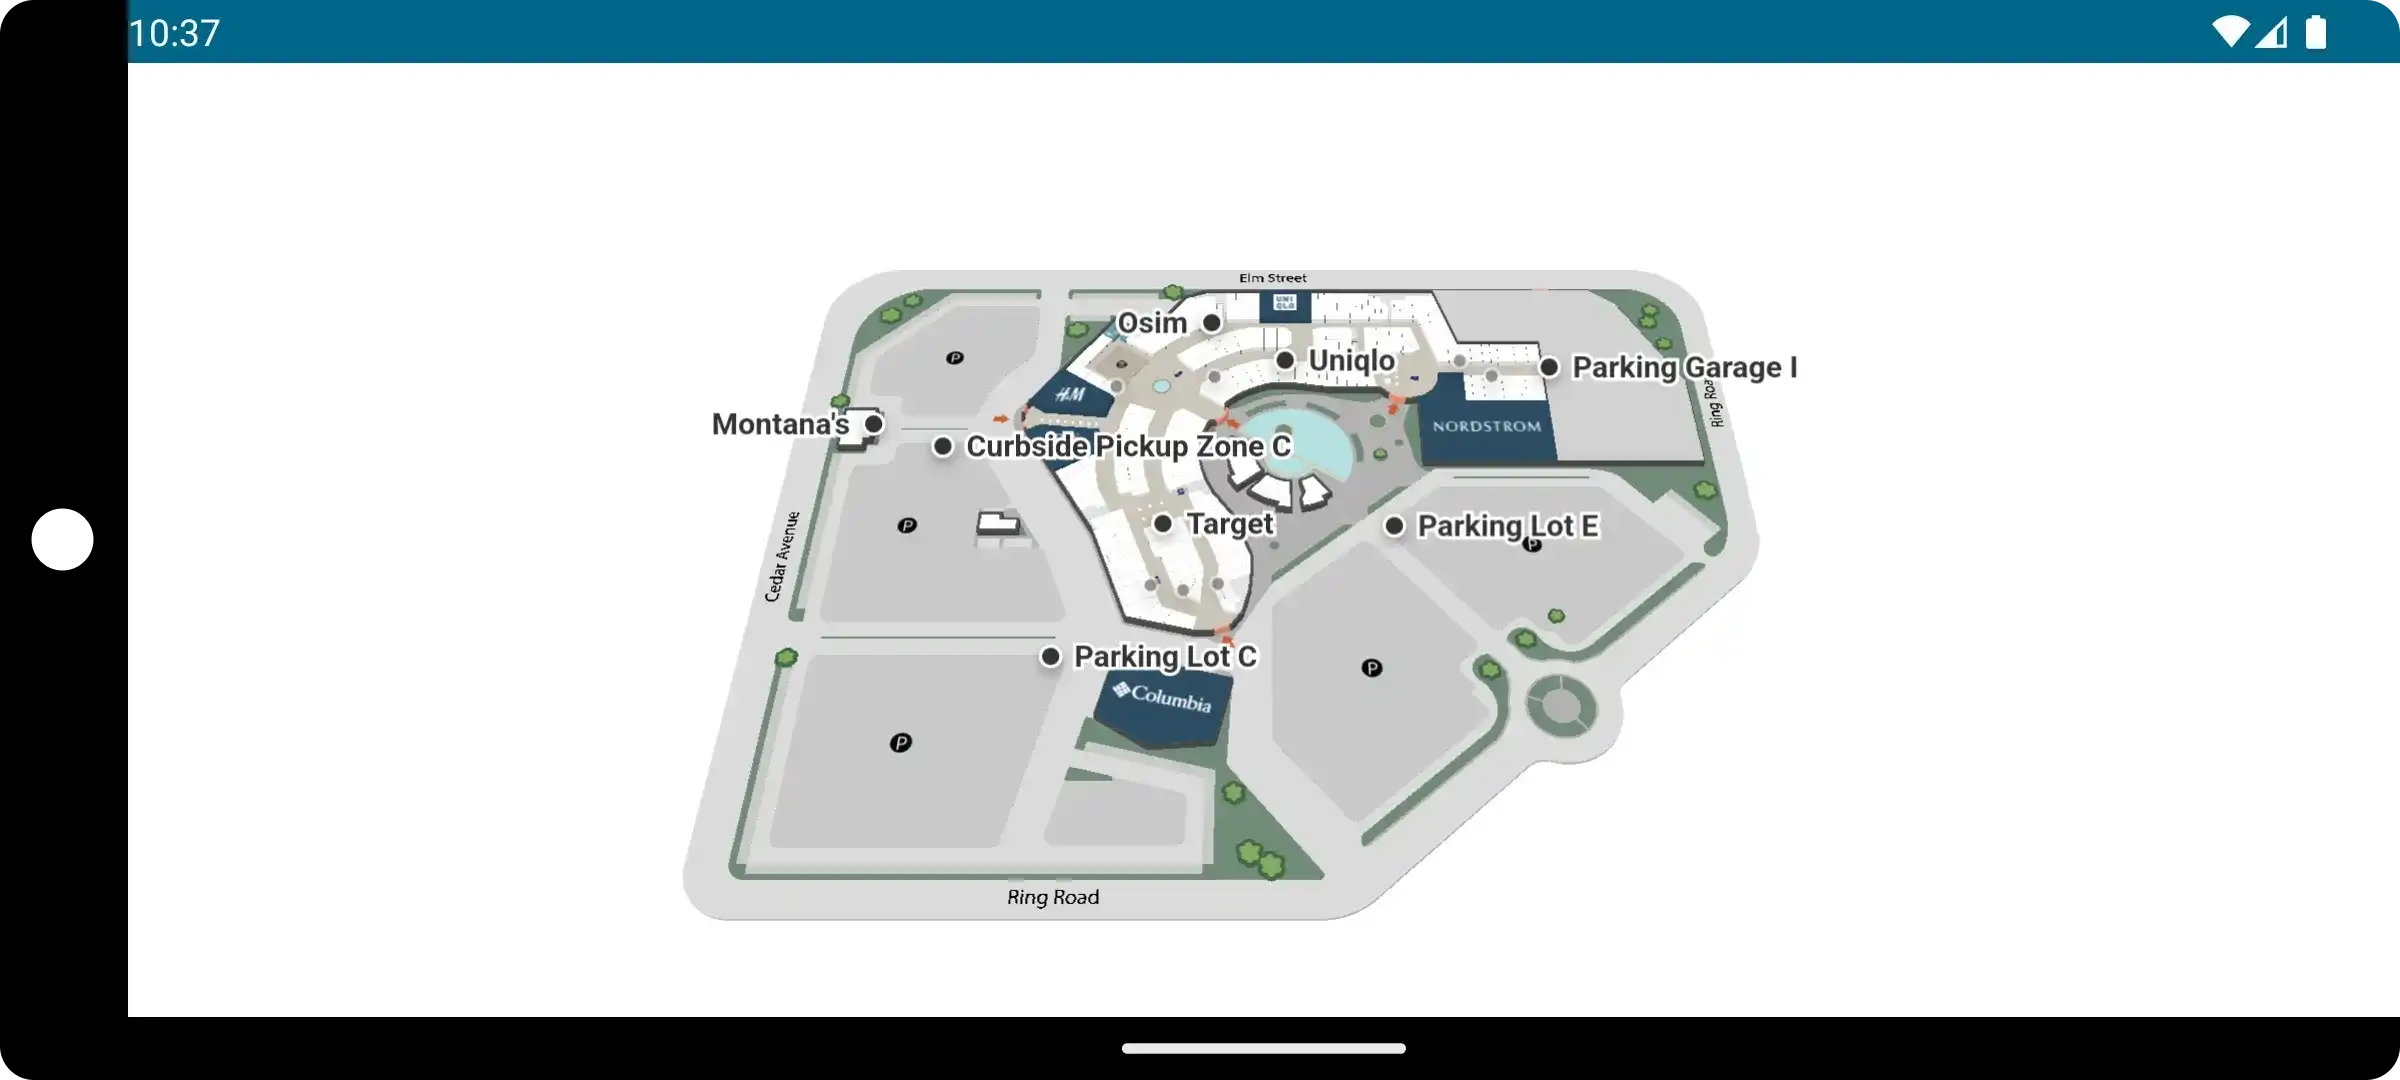
At this point you should be prompted to choose an Android emulator to run the app on. Once up and running, the app should display the Mappedin Demo Mall like this.

Running on iOS
The steps to run the project on iOS are similar to what we did to get the app running on Android. The first step is to install the ios package:
npm install @capacitor/ios
Once installed, the project needs to be built before continuing onto the next steps.
npm run build
Next we execute adding iOS support and run the project in an iOS emulator.
npx cap add ios
npx cap run ios
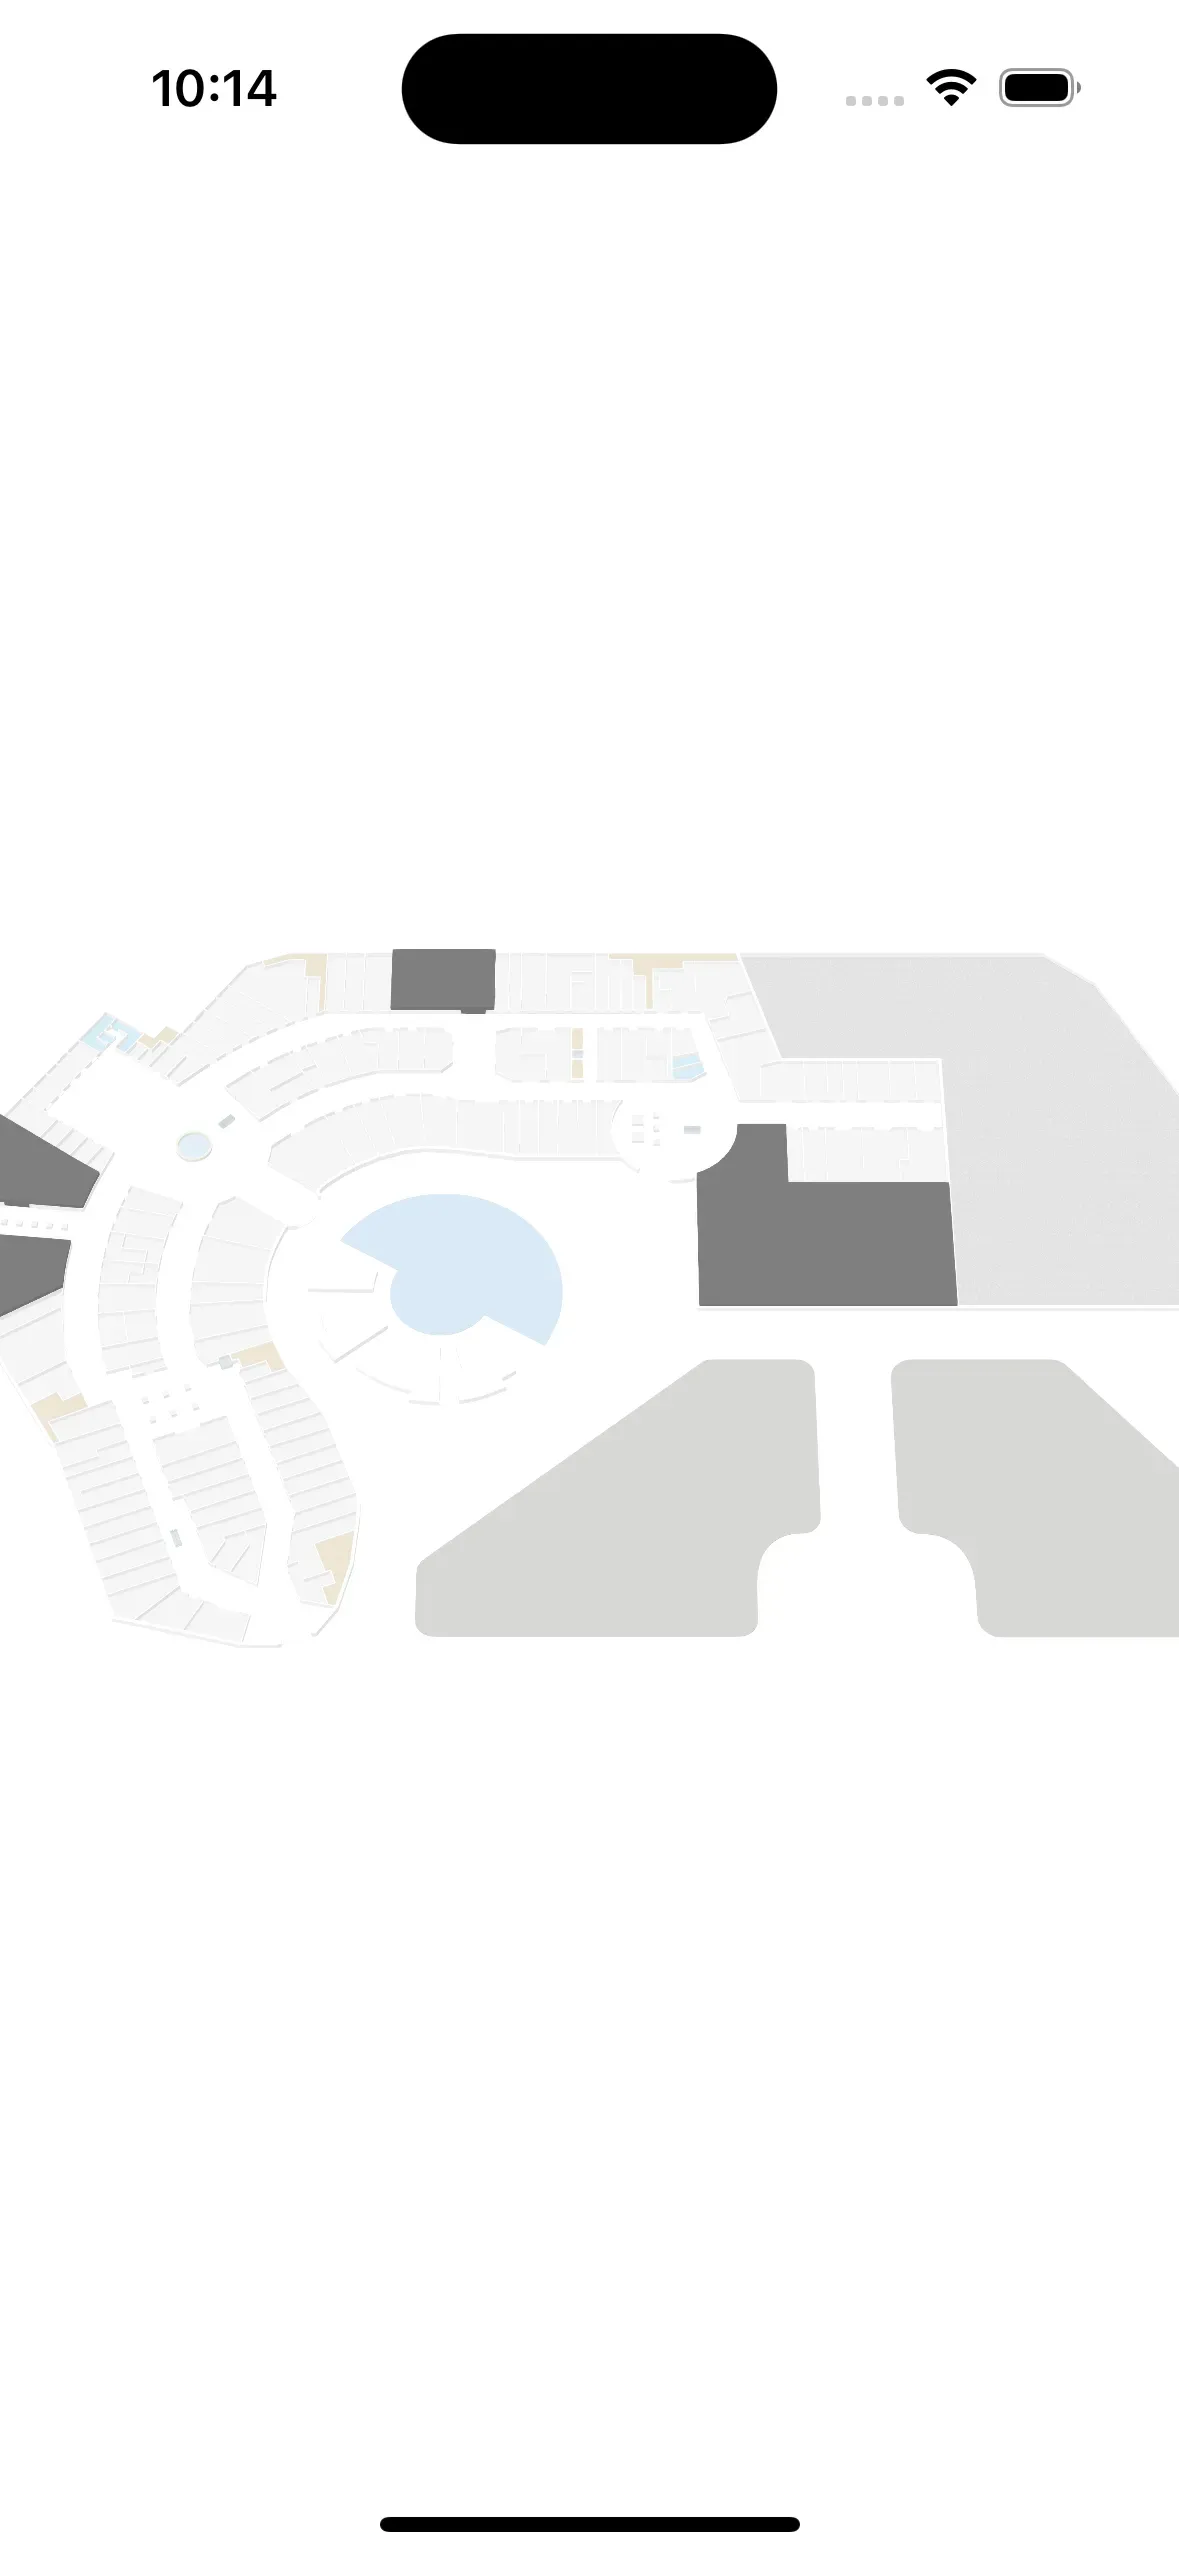
Now you can choose which iOS emulator to run the app on. When the app is up and running, you should see the Mappedin Demo mall similar to the screenshot below.
Now add more features!
You’re now ready to add more features to your app. You could add some labels, draw a navigational route, zoom in or add many other features found in the Mappedin SDK. To see what is possible, have a look at the Mappedin Playground and then learn how to implement those features by reading the Mappedin Enterprise Web SDK Guides.
Share