If you read our earlier post, Build Your Own Directory: Listing Locations and Search, you learned how to list all locations in your venue and filter them using Mappedin's built-in search. This time, we'll take it a step further and build upon those foundations to create a complete directory experience.
Introduction
The next logical piece of the puzzle of directories is the directions and the underlying map that presents them. Building upon our work in the previous blog, it's a breeze to integrate your map with the location search and provide visual directions to the user. We'll even discuss how you could supply a QR code for users to pick up where they left off on their phones.
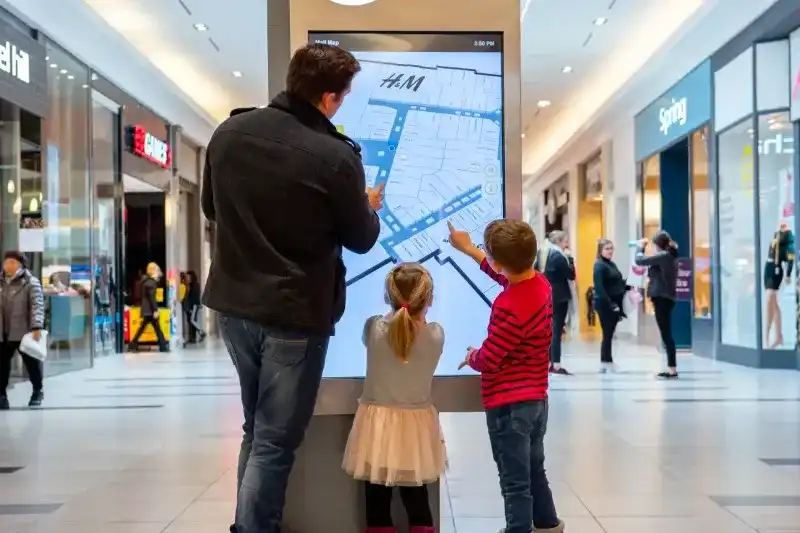
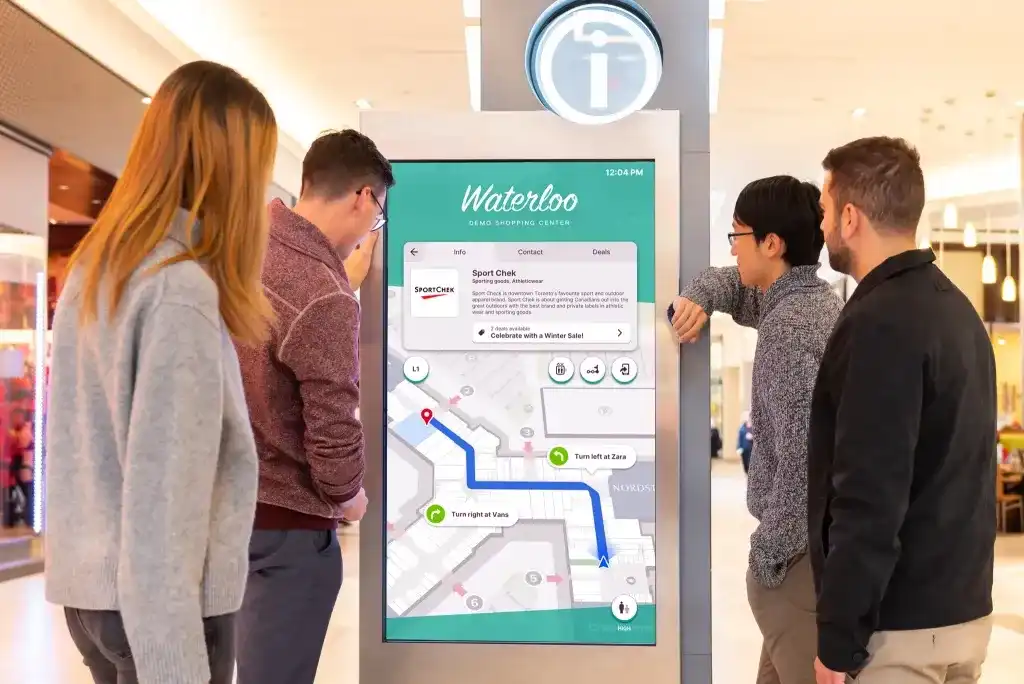
Feel free to experiment with the following demo and get directions from the central kiosk to a store. You can even scan the QR code to view on your mobile device.
Displaying the map
You'll need a <div/> with an id you can attach the map to and some adjustments to your CSS to make it visible around your search. Once this is done, adding the map to your directory can be done in as little as 1 line.
That's it, your map now displays on your directory. You can adjust it to your liking, adding features such as Floating Labels or Markers, and also browse the MapView API reference to see what other properties and methods are available to you.
Generating directions
At this stage, you should have a list of locations and a digital map but currently nothing connects the two. User's expect to select a location in the list and get directions from their current location. You can handle this by adding an onclick event to your list items in render().
Next, define what happens in this event. You may want to hide and show various interface elements and adjust CSS. Since the style of your digital directory may vary greatly, we'll only discuss Web SDK features you could use.
Using the mapView, focus the camera on the location that was clicked. Refining the speed, zoom, and other options of this animation can be done using TFocusOnOptions. It's also helpful to create a tooltip to draw attention to the selected location.
In our example CodeSandbox, we display a "Get Directions" button with another onclick handler. This is where we use the Web SDK to generate our directions. Again, this takes only a few lines.
If you saved your endLocation in the previous event, you can use this to create your directions from a chosen start location. Then, use the mapView to draw the path on the map.
Mobile pass
After a user has selected their target location, they likely want to transfer the directions to their phone so they don't get lost. This is not a built-in feature to the Web SDK, but using the qrcode npm package you can easily add this to your directory.
Install the package and import it into your file. Create a function which generates the <img/> based on the MappedinLocation id and appends it to a <div/>.
Call this new function once the user has selected their end location, passing in the id.
In init(), check if the URL has an id appended to it. If so, you can run the existing event to pick up where they left off on their mobile device.
There you have it! Using Mappedin's Web SDK, you have now laid the groundwork for your interactive directory. If you followed this and our previous post, your app should be equipped to list, search, and direct users to locations in your venue. However, there's still plenty of work to be done with front-end styling which we leave entirely up to you.
For additional Web SDK features, have a look at our Developer Portal where you can find guides and API documentation. Or, browse through our Developer Blogs to see more use cases and demos.
Share